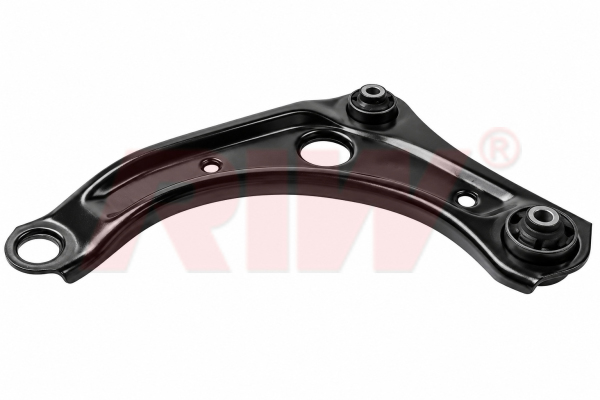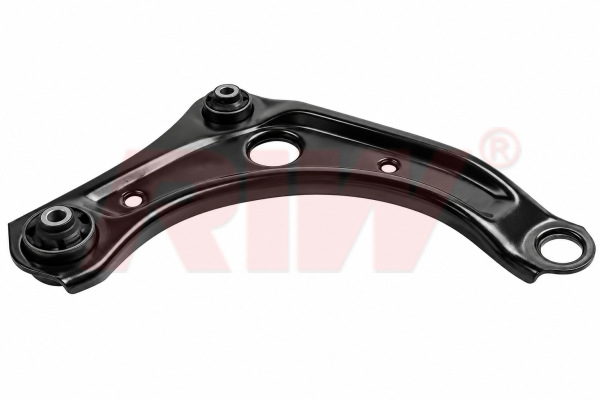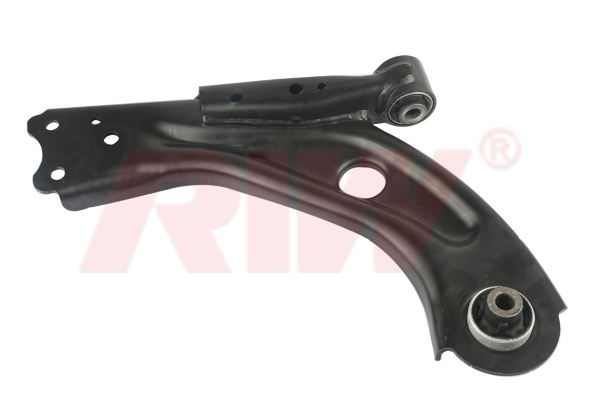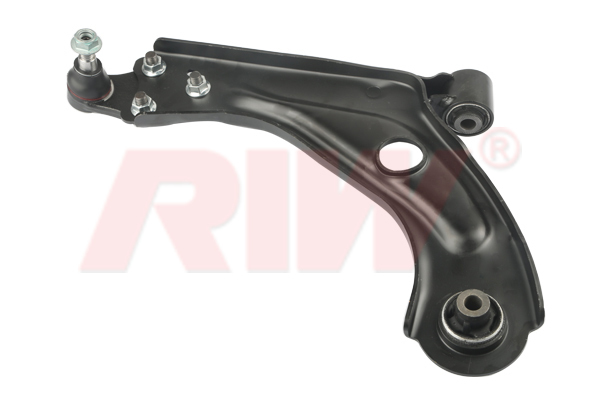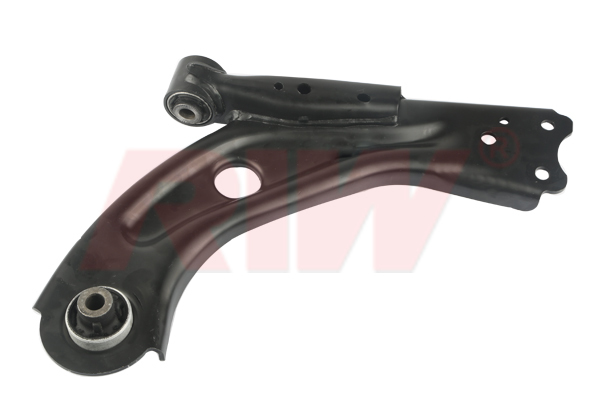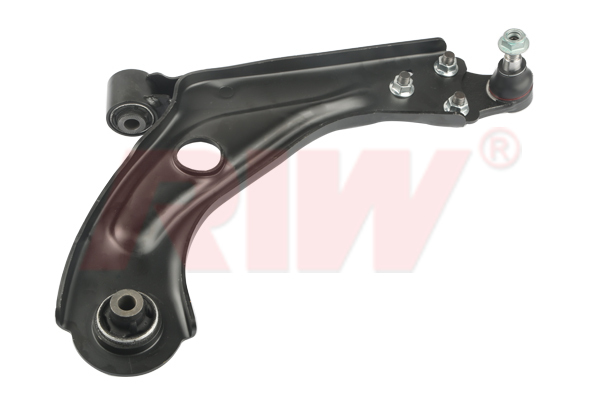




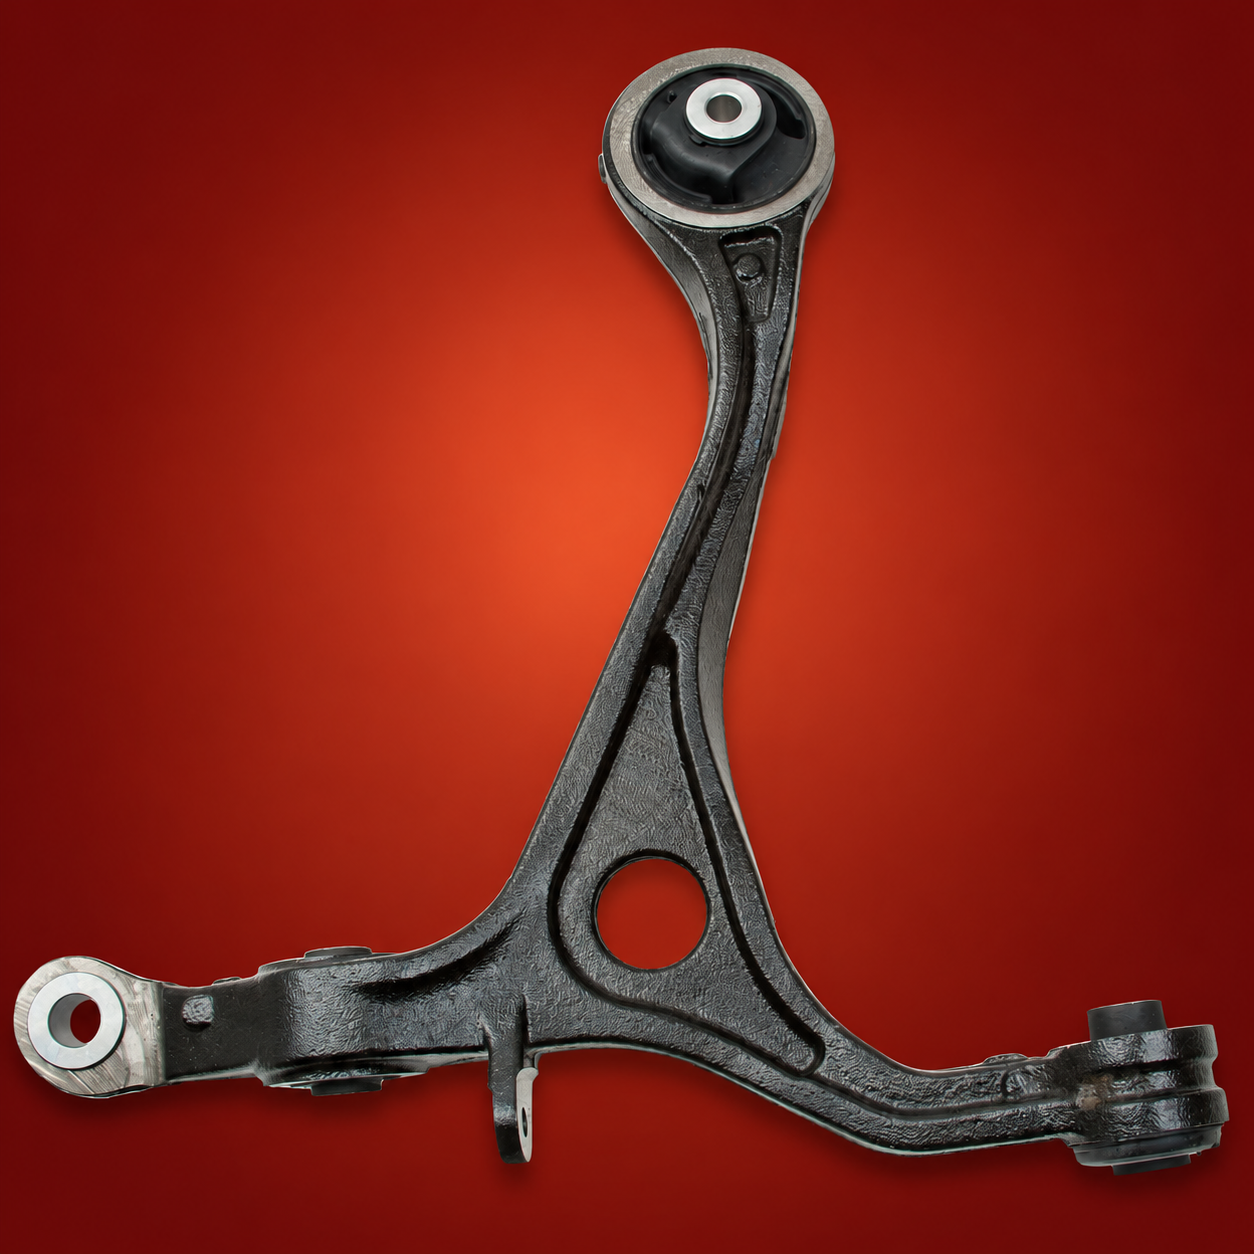
What is a Control Arm?
Control arm is a component in a vehicle's suspension system that connects the chassis to the wheel assembly. It allows the wheel to move up and down with the suspension and helps to control the position of the wheel. The control arm also helps to absorb road shocks and vibrations, improving ride quality and handling. In most vehicles, there are several control arms in the suspension system, working in conjunction with other components like shocks, struts, and springs to provide a smooth and stable ride.
When should a Control Arm be replaced?
A suspension control arm may need to be replaced if it shows signs of wear or damage, such as:
- Bent or damaged control arm: A bent or damaged control arm can cause alignment issues and affect the handling of the vehicle.
- Loose or worn bushings: The bushings on the control arm can wear out over time and cause a clunking sound or increase in road noise.
- Rust or corrosion: Rust or corrosion can weaken the control arm and reduce its effectiveness.
- Ball joint wear: If the ball joint on the control arm wears out, it can affect the alignment and handling of the vehicle.
- Suspension noise: If you hear clunking or knocking sounds coming from the suspension, it may indicate that the control arm is worn and needs to be replaced.
In general, a control arm should be replaced if it is damaged or worn beyond repair. If you notice any of the above symptoms, it is recommended to have your vehicle inspected by a professional mechanic.
How to install a Control Arm
Assembling a suspension control arm involves the following steps:
- Gather tools and materials: You'll need a socket set, torque wrench, pliers, and a new control arm.
- Prepare the vehicle: Place the vehicle on jack stands or lift it with a jack to access the suspension components.
- Remove the old control arm: Use the socket set to remove the bolts or nuts that secure the old control arm to the chassis and wheel assembly.
- Install the new control arm: Line up the new control arm with the holes in the chassis and wheel assembly, and install the bolts or nuts to secure it in place.
- Tighten the bolts or nuts: Use a torque wrench to tighten the bolts or nuts to the manufacturer's specifications. This will ensure that the control arm is securely fastened and will prevent any problems with handling or alignment.
- Test the suspension: Lower the vehicle back to the ground and test the suspension by bouncing the vehicle and checking for any clunks or knocking sounds.
It's important to follow the manufacturer's instructions and to use the proper tools to ensure a secure and leak-free installation. If you're not experienced with this type of work, it's best to have a professional handle the assembly to ensure that it's done properly and safely. It is recommended to consult the vehicle manufacturer's manual or a professional mechanic for specific instructions.
Explore the RIW range
Find this product in our online catalogue.